Finishing off

We were back into the job today, finishing off the spiking and fastening up the steel sleepers.
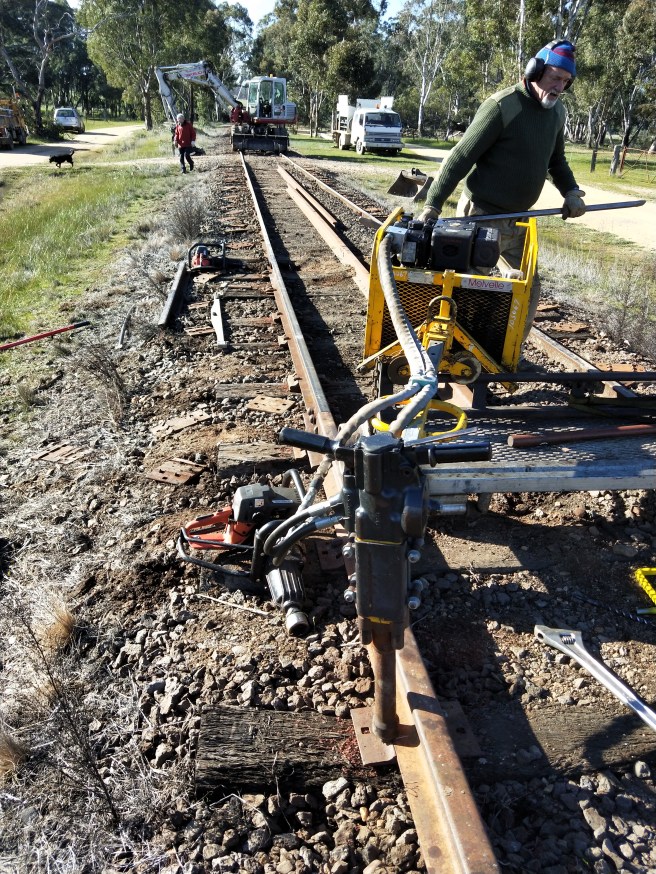
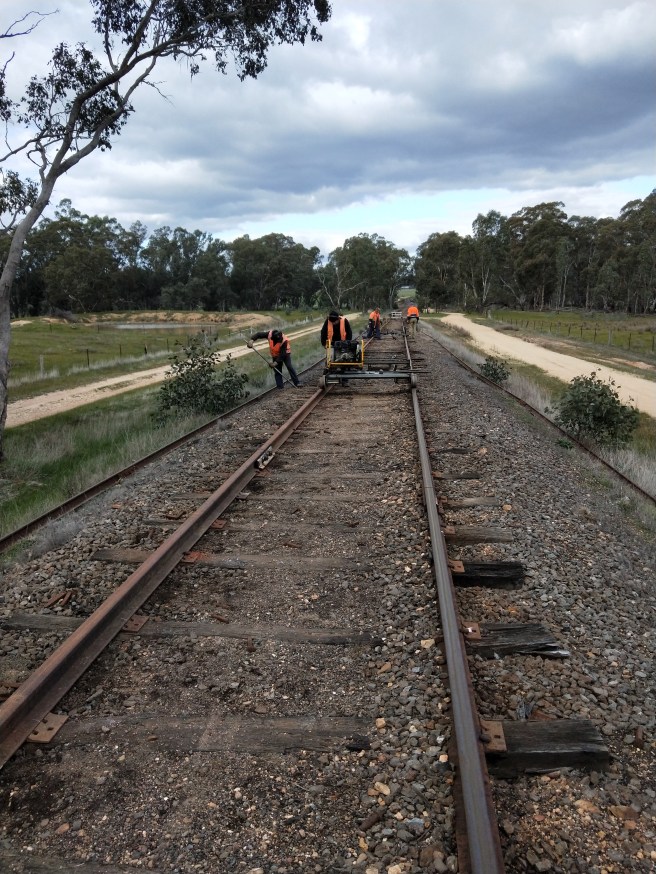
Right at the start of work, with the drilling well under way the spike driver was also in fill swing trying to keep up, just to mix things up we decided to work up the hill…. Made for slightly harder work but not overly.
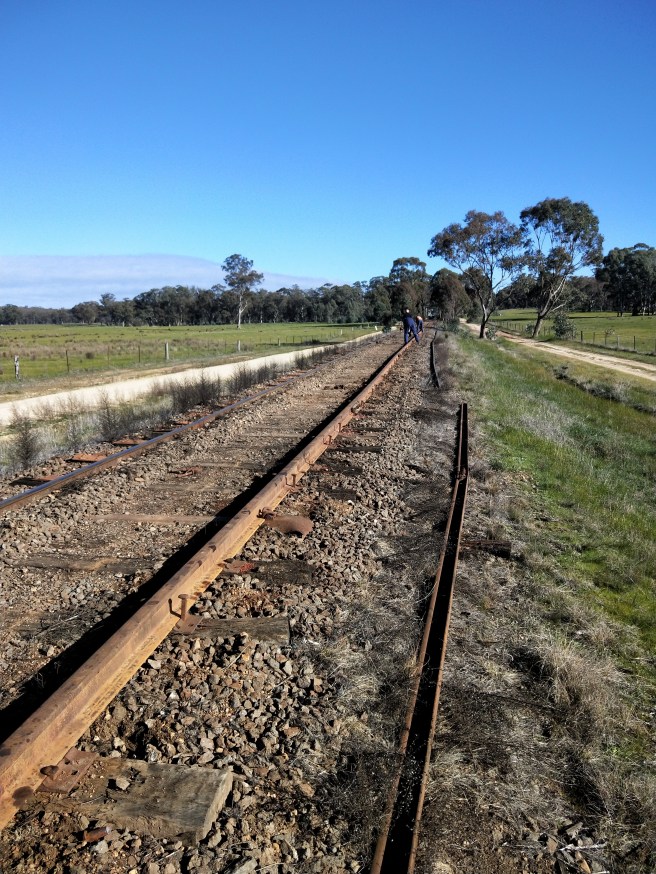
Here looking back the job, with two drillers and one standing the dog spikes racing up the hill. The eagle eyed will note the Y class in the distance, we bought that down for later on, but it marks where we reached yesterday with the spiking.
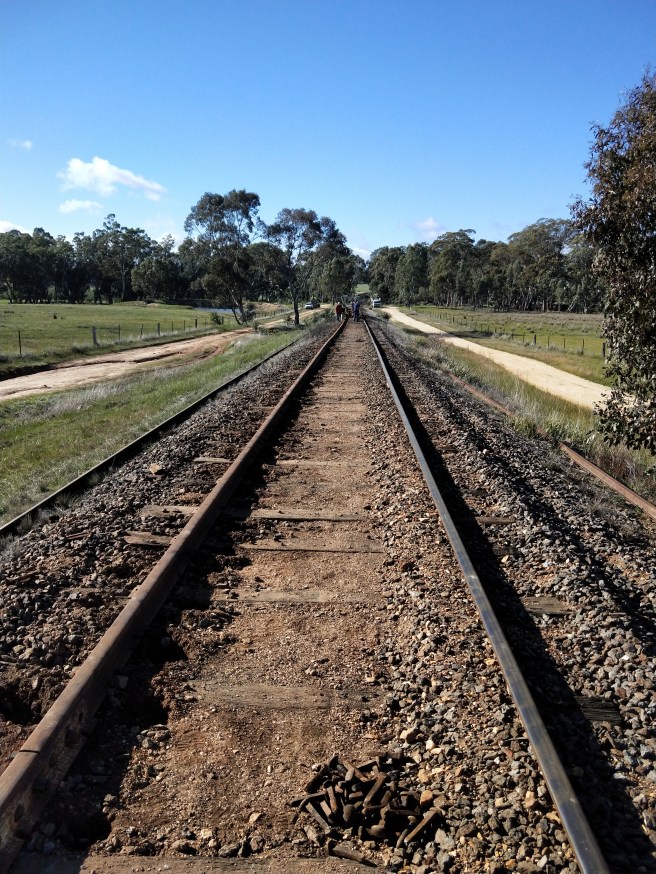
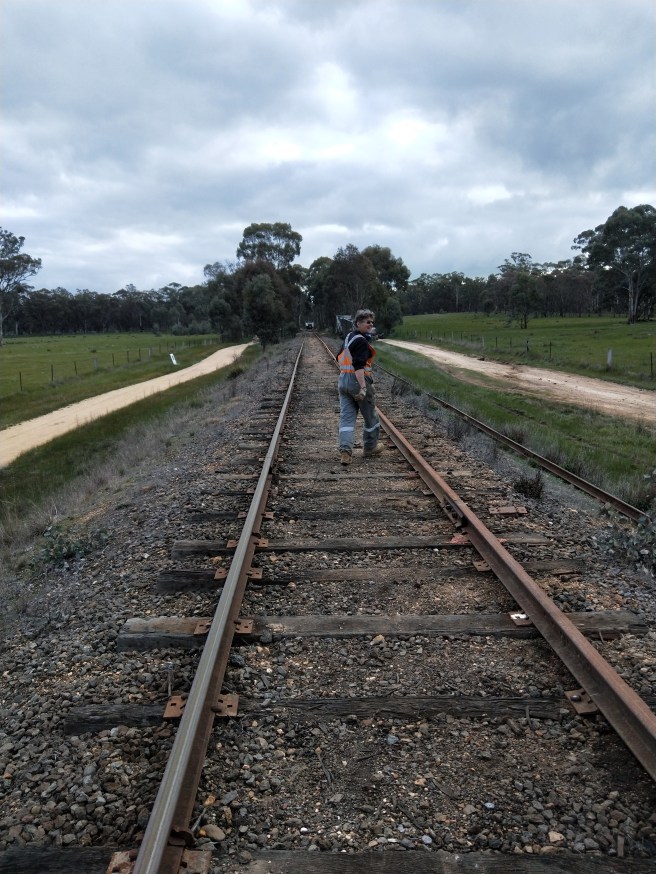
These pics show a view further up the hill, yet to be spiked but after a quick cuppa we raced through this section.

By about 11.30 we had all the spiking complete.
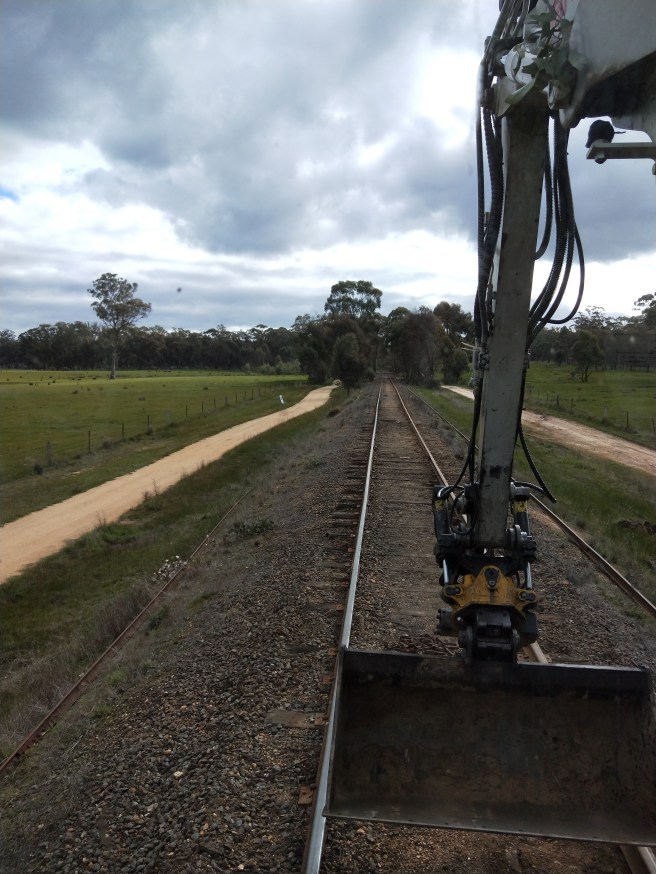
The finished product! You can see that the right hand rail is still rusty, with a busy weekend of trains forecast this will look like its always been there on Monday.

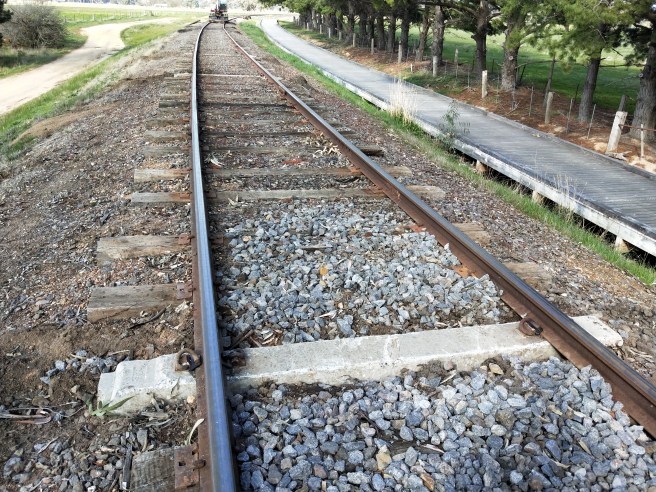
Here’s a pic right at the bottom of the hill showing the next section to be re-railed, which will be next week.

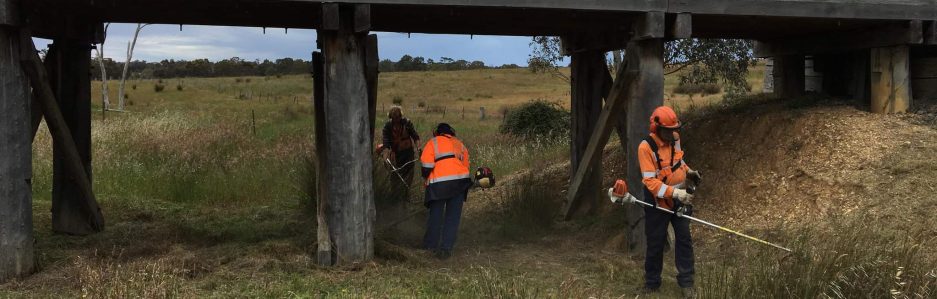
The purpose of the Y class was to bring out a wagon of rails, which you can see here have been placed out right down to the bridge, ready for next week.

A last couple of pics showing off what we’ve achieved and what will be achieved next week.

We will be out preparing for this on Tuesday and could really use an extra pair of hands, so please let Will know via ganger@vgr.com.au if you’re able to help out.

Re-railing

Well as promised today was a day of re-railing. 30 lengths were installed, actually a new record yet again! There is still some drilling and spiking to do tomorrow but overall it’s more or less fit for traffic.

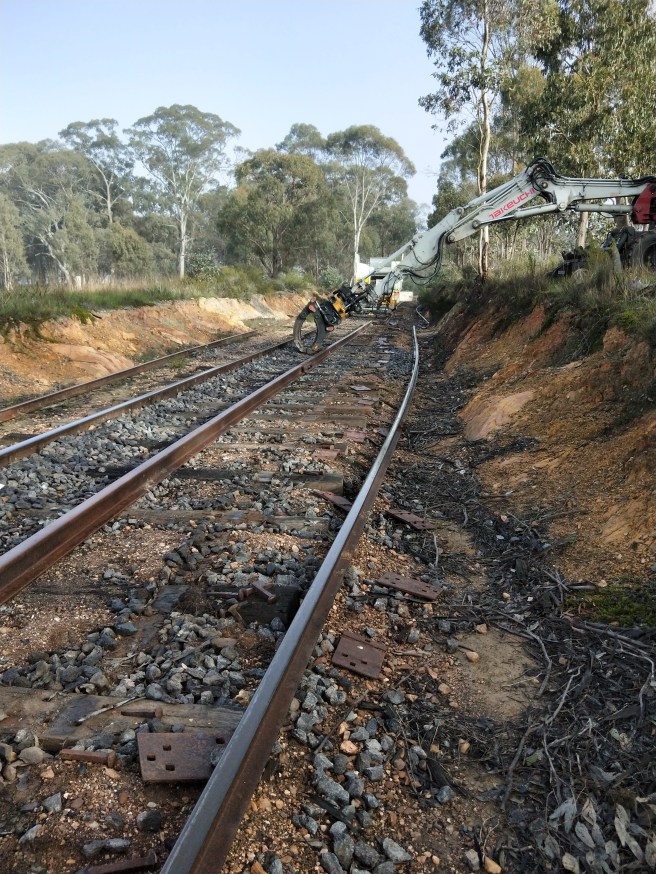
The day started out as a glorious fog, cool but not too cold. These pics show where we were aiming to get, it’s actually not the two rails in the foreground but those just beyond.

By 9am we were well into it, with the first of the 60lb unfastened and removed.

Here the excavator is just about to bring over the 80lb ready for plating and spiking down.

Before morning tea we’d manage to place 6 lengths of 80 into position and about half of the 60 had been removed.

Lunch time and all the 60 was out, most of the 80 roughly in place with drilling and spiking well under way.

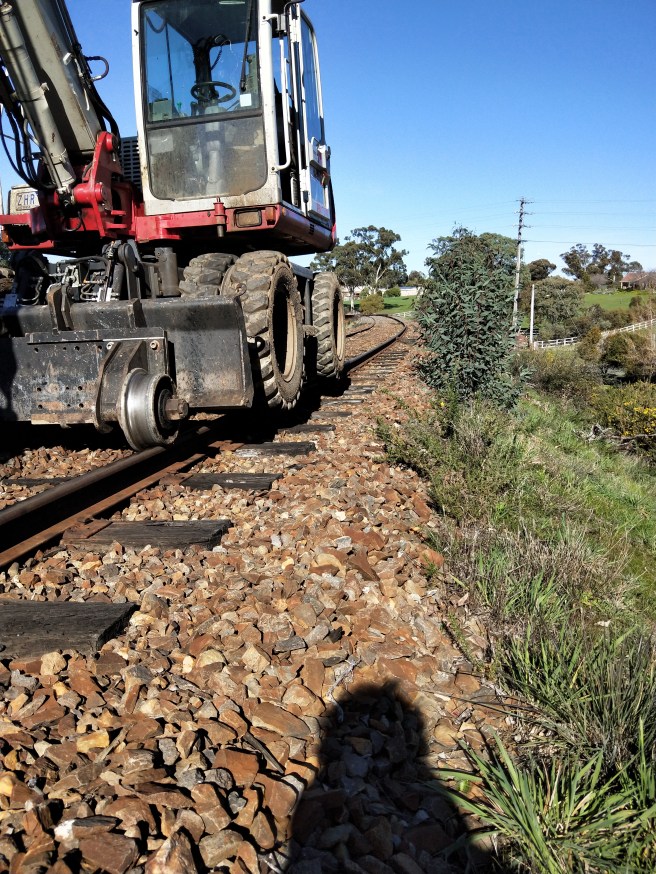
A small hold up in the form of a very bogged excavator set us back a few minutes, but with some strategic propping and side slewing we finally had it back on dry ground – no pics unfortunately, we were all too busy trying to get it out!

Nearing the end. The farthest group is at the end of the job, while the close group is spiking down the dogs already drilled and started.

Here Tony is heading back up the hill after we’d decided we’d done more than a good days work. You can see we’ve only spiked 1 in 3 so far in this area, the rest of that will occur tomorrow, about 1/2 of job still requires the 2 in 3 to be spiked but this process is actually quite fast. As we managed to fit in a tamp bringing all the sleepers up hard under the rail, saving much time when drilling.

We’ll be out tomorrow finishing off and we are quite low for numbers so any extra hands will be greatly appreciated! We’ll also be running a rail train so there will be plenty to keep the excitement up.

Concrete Sleeper Trials

Today was a day of experiment.

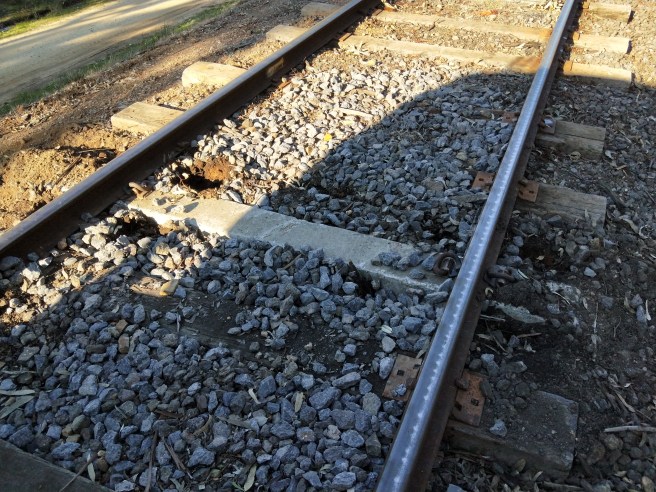
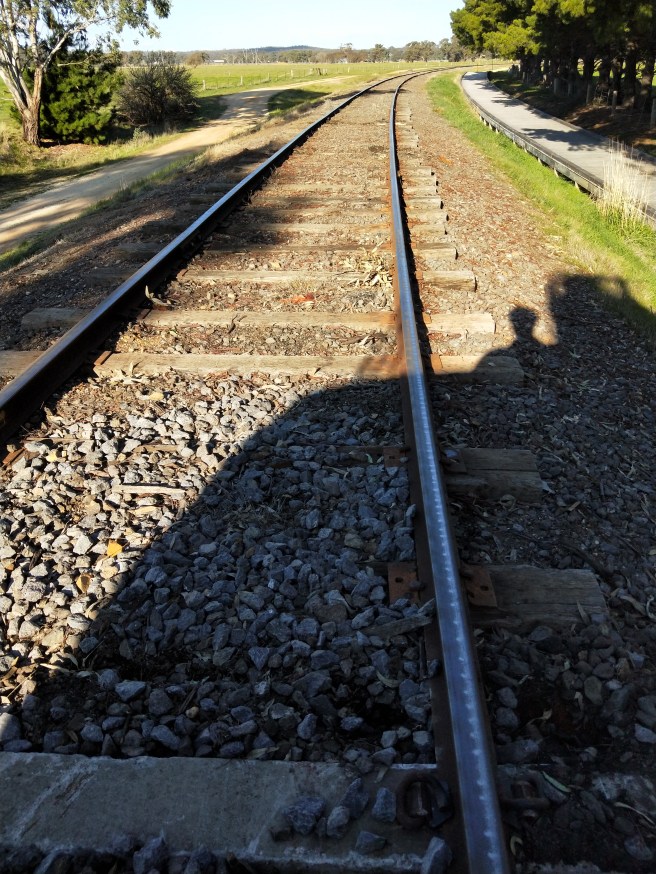
When inserted, a concrete sleeper looks very much as above (this is before tamping and boxing, but in terms of the fastening down etc… It’s complete), but getting it in our track which has very little ballast depth has been of concern, so we set about working out what we could do.

Initially we set about doing things as we would for timber, scarifying to the depth of a timber sleeper (as set on the scarifier).But, and we knew this would be the case, you can see by the pic above that the pandrol lugs pretude above the sleeper top, preventing the sleeper sliding in.

We had two basic options from here, lift the track or dig a deeper hole.

Option 1 worked, we did have to jack up the track quite far and we were lucky ballast didn’t find its way under the adjacent sleepers keeping them up, but this method does work quite well, but it’s fairly time and labour intensive.

Option 2 worked also. We adjusted the depth setting for the scarifier and found the right high to be able to insert the sleepers without destroying the base below.

We ended up running with option 2 for most of the holes, as it was much quicker and we wanted to see if we were likely to be digging into the sub-base if we used this method. We didn’t in any of our 18 holes find that we’d dug too deeply, however we may have just been fortunate here and time will tell for other sites.

This beast, which gets talked about a bit here, really is essential to the resleepering process as it leaves a nice clean and square hole for the new sleeper.

We already knew this trick but we had forgotten and were soon reminded… Install the plastic pad on the sleeper before putting it under the rails! Here John’s doing just that to make sure we didn’t forget again.

Once the hole was scarified, gentle insertion with the excavator was undertaken. Pics above show the process, doing it this way prevents the concrete sleeper from damage as well as only disturbing the already loose dirt in the hole.

Once in, the clipping up process is quite straight forward (we’ll post more pics when there’s more hands to hold cameras instead of tools)

With the finished product (here freshly tamped and yet to be boxed up) looking very smart and secure, greatly reducing our ongoing maintenance of timber sleeper renewals!

Today’s efforts were very encouraging, with only 3 people and no preparation we were able to completely install 18 sleepers and have time for quite a bit of experimenting.

It certainly gives hope to getting 100+ installed in a day’s work with more bodies and a bit more of a systematic approach.

We’ll be out again this Thursday and Friday, re-railing. So please come along and help out, it’s always a great day out in the bush and we would certainly appreciate the help.

Lifting and Tamping

We got back into some more lifting and tamping today, after our prison assistance had to cancel at short notice.

We started at Winters Flat Bridge and headed up the hill. This section had developed some significant settling issues, giving a very rough ride.

Here the team chips out enough rock for a Jack, then lifting to the required hight. The hight is largely determined by getting down on your hands, knees, back or belly (which ever is most comfortable on the rough ballast) and eyeing the dip, guiding the jacker when to stop lifting. It’s not a particularly hard or precise job but it very uncomfortable!

By the end of the day we reached the pedestrian crossing near Brown Street, which sees the worst of the dips in the Castlemaine area taken care of.

The view behind the excavator shows the finish we have been able to achieve, still not perfect but smooth with gentle undulations, rather than the rough and violent situation which had developed.

The afternoon sun made a welcome change from the winter weather, here highlighting a dip in the left leg which is about to be jacked and tamped.

Overall a very successful day.

We’re holding another civil workday on Tuesday (14th Aug.) where we are going to trial the insertion of concrete sleepers in a curve on the line. Any help would be greatly appreciated, it’s likely to be a very interesting exercise! Please contact Will if you’re free and able to help out – ganger@vgr.com.au