We’ve had a very strong week so far, and we’re on track to install 240 concretes this week.
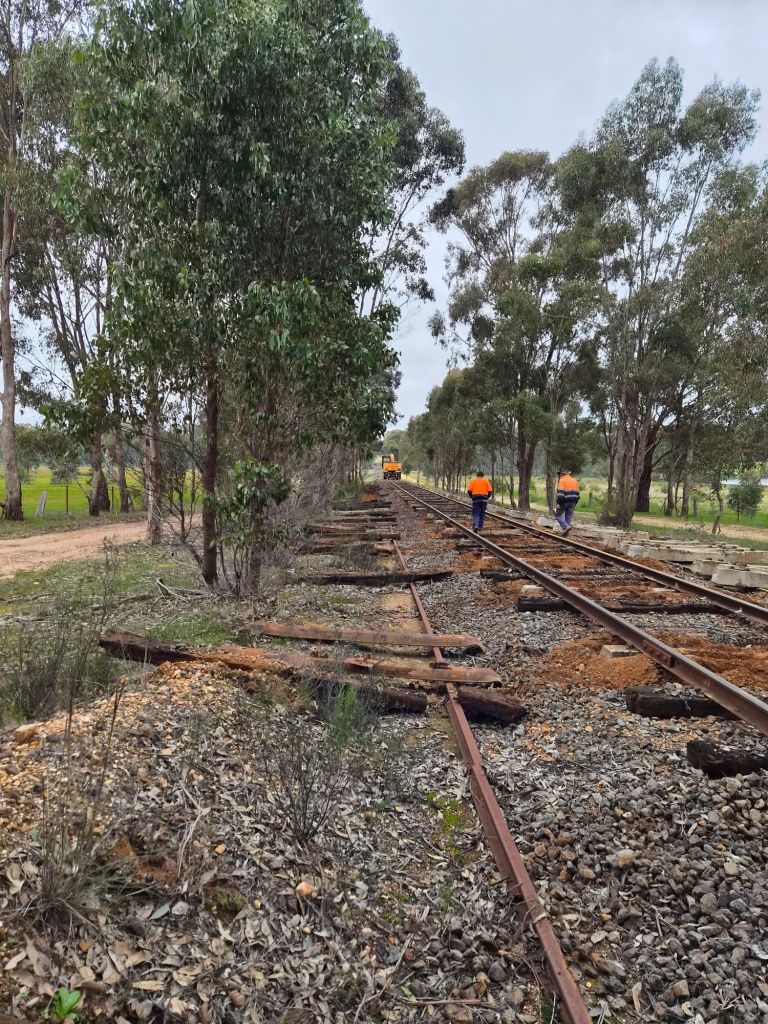
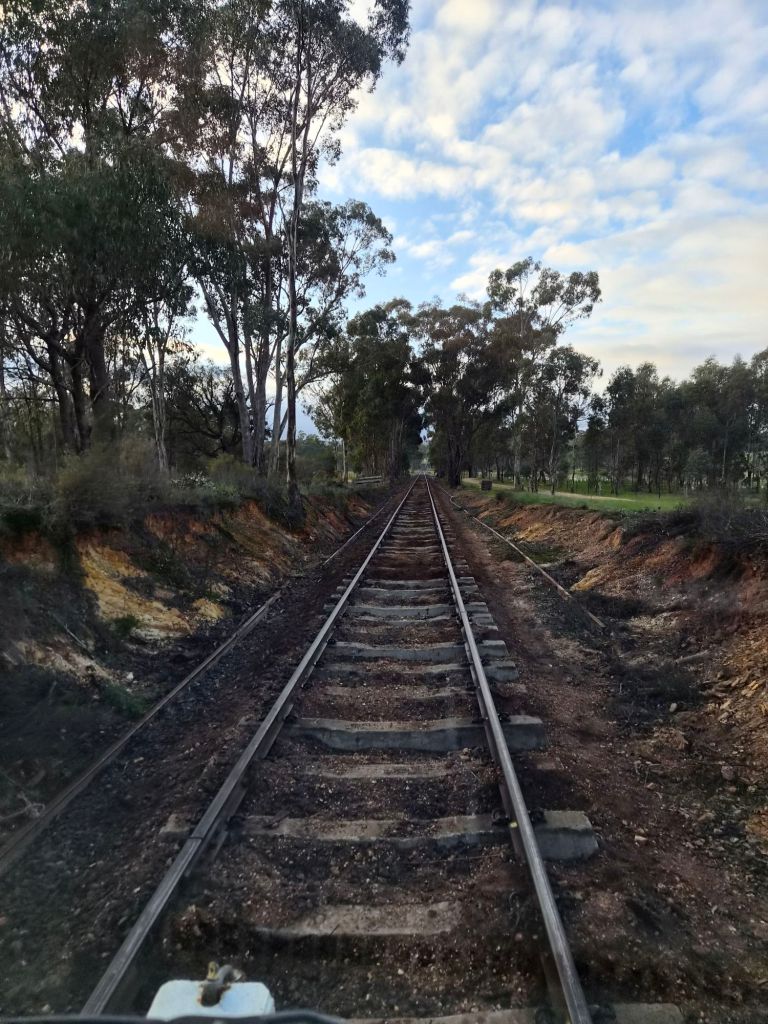
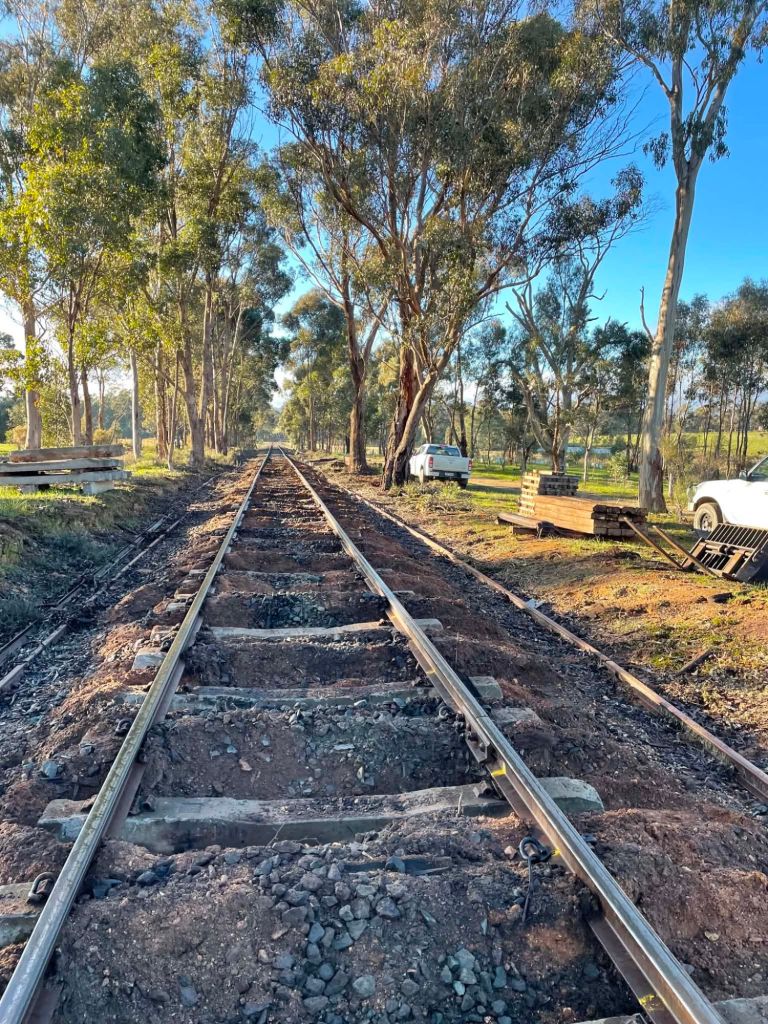
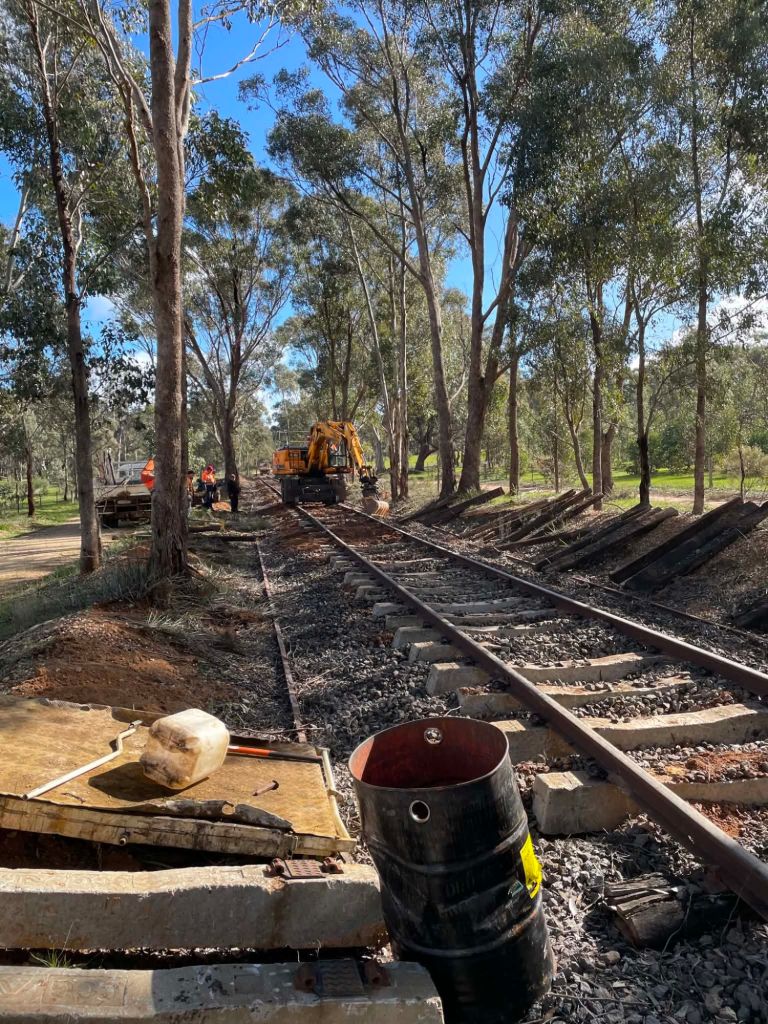
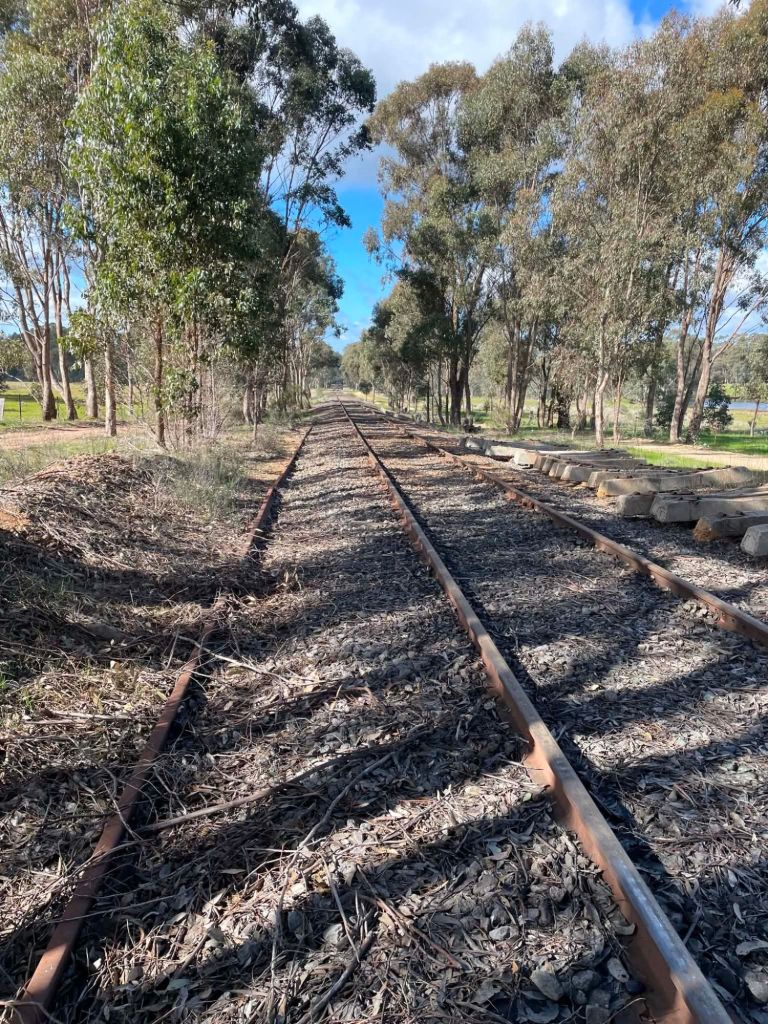
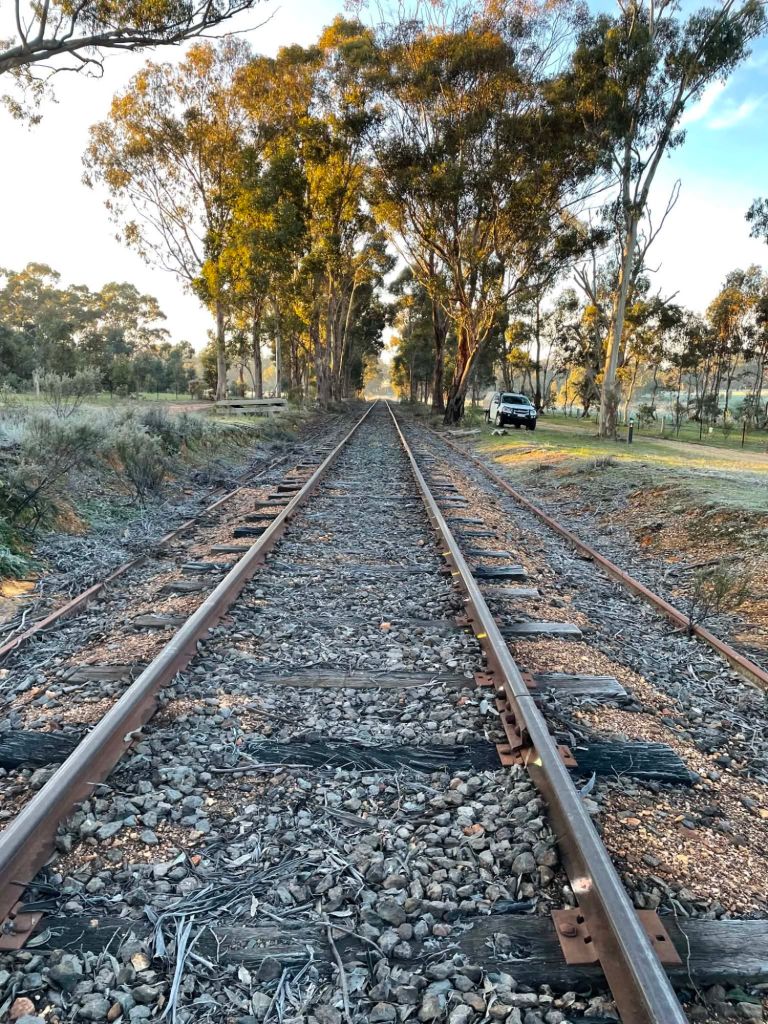
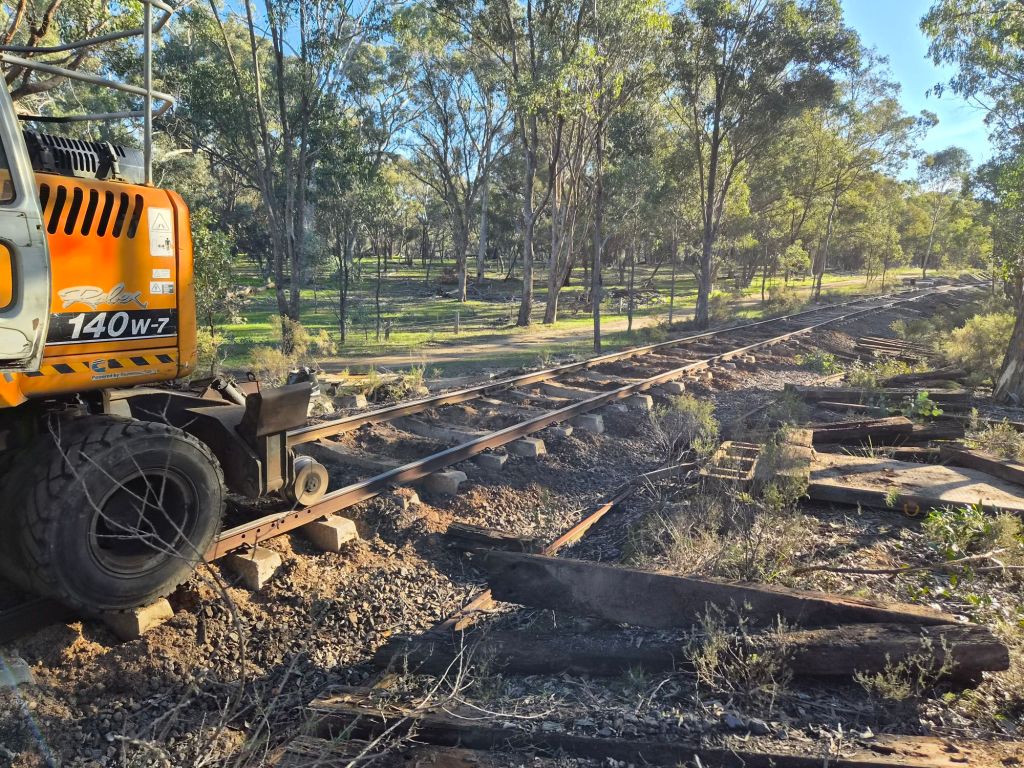
In the very distant a 44 gallon drum indicates where we’ve installed sleepers to, a very good way along the straight.
There won’t be a workday tomorrow, as we’ll use that as a digger day and to top up supplies etc… however we’ll have a big day of Thursday, with lots of sleepers still to be clipped up. Meeting Maldon 8am or on site from 8.30am.
We had quite a successful week, installing an additional 160 concrete sleepers towards the Bridge.
An excellent start was made on Tuesday, with 60 inserted and clipped up.
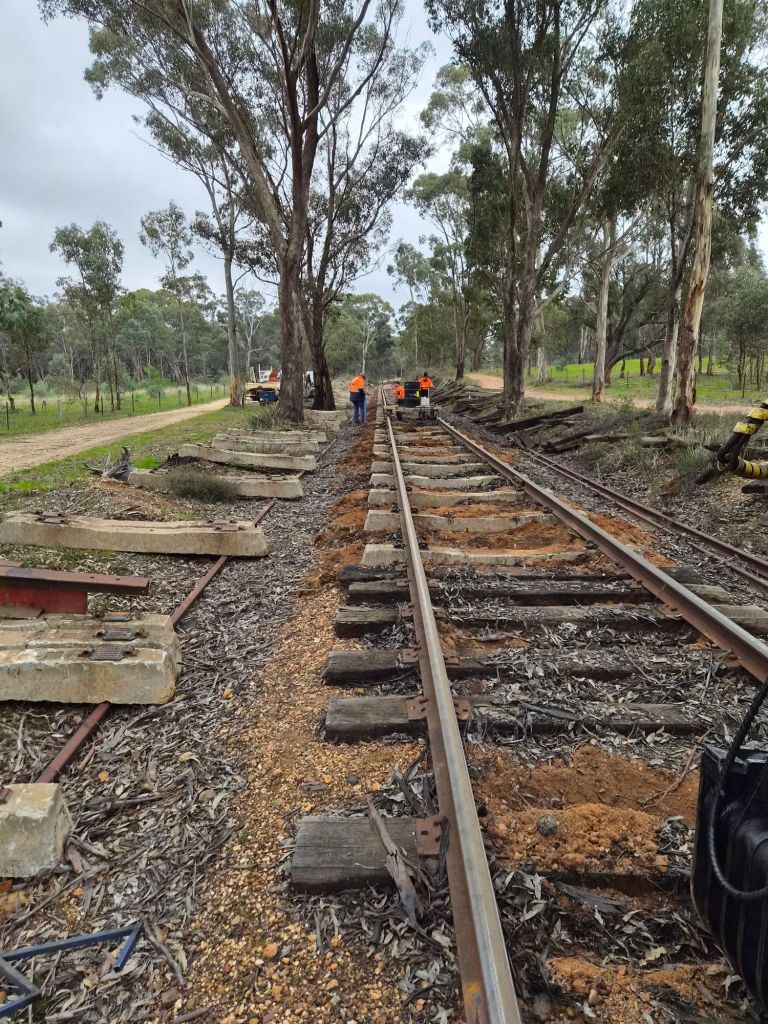
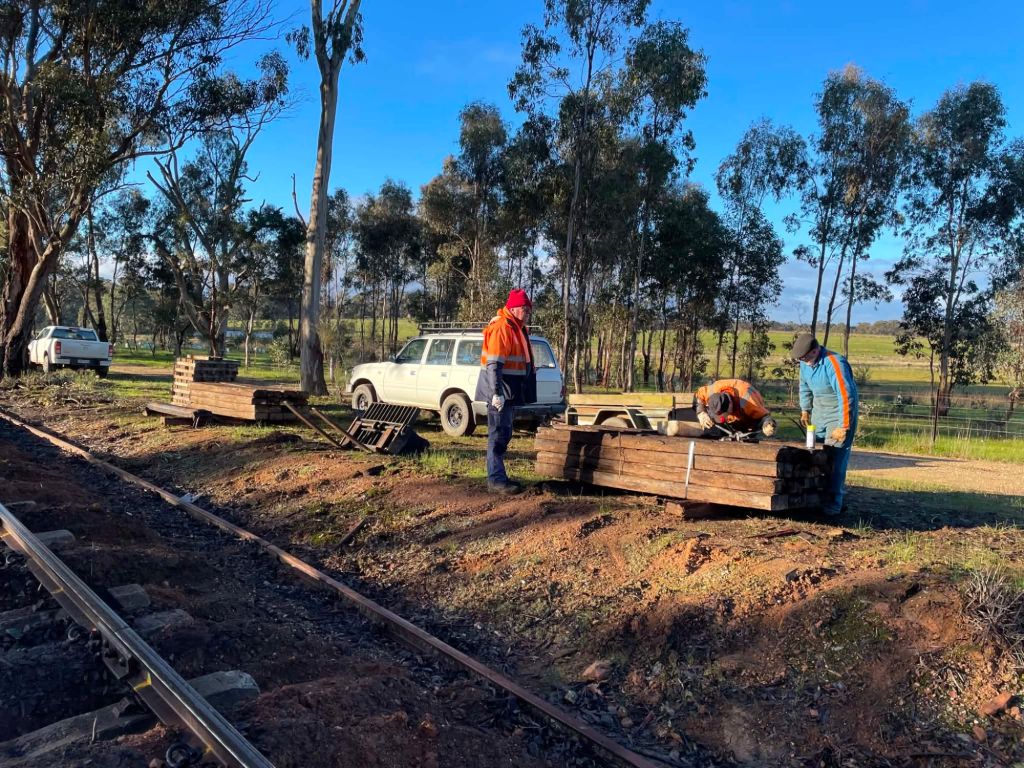
Wednesday saw the remaining 60 inserted and timber sorted/bundled. Making for a very productive morning on Thursday of clipping up.
So productive an extra 40 were installed.
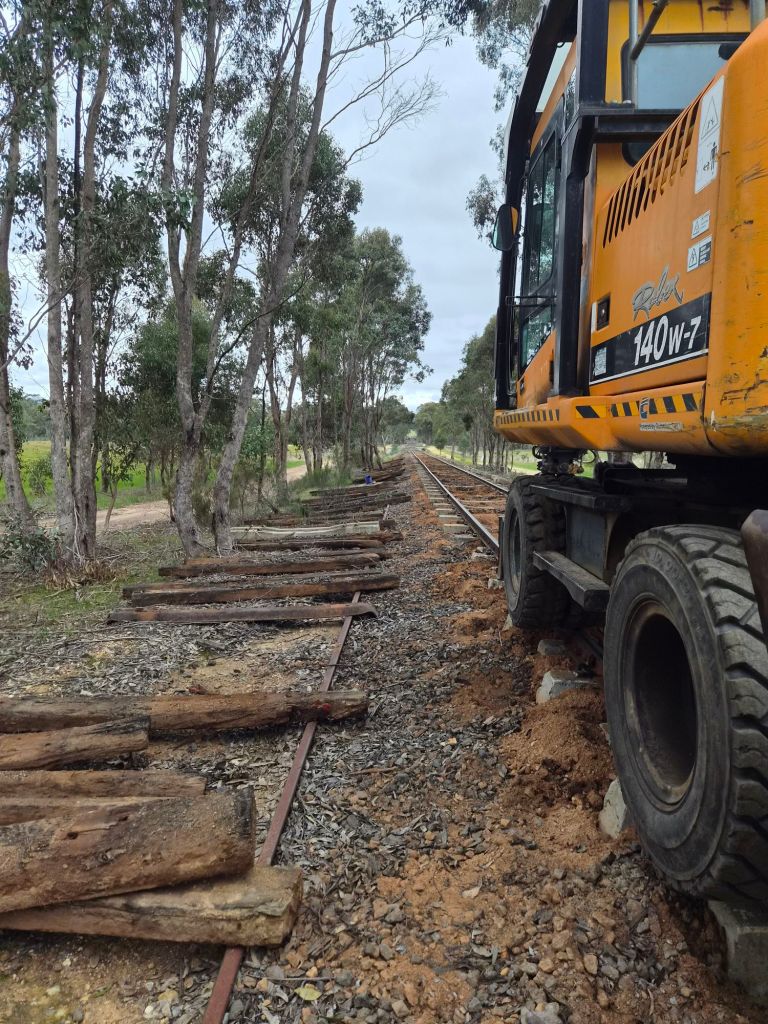
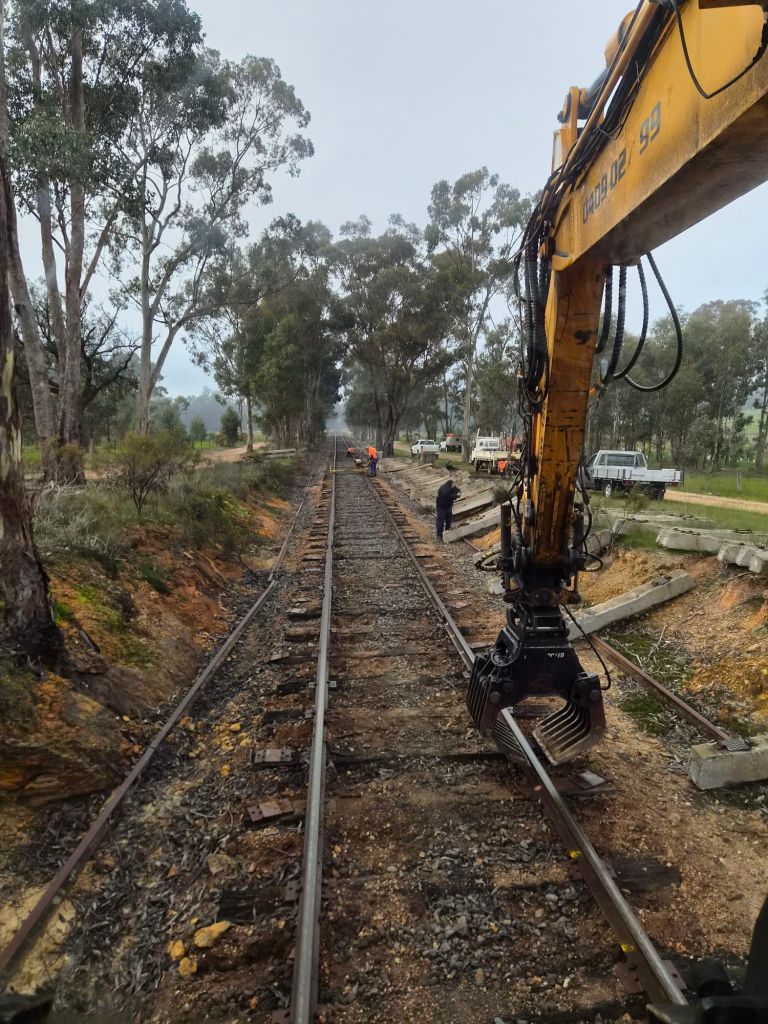
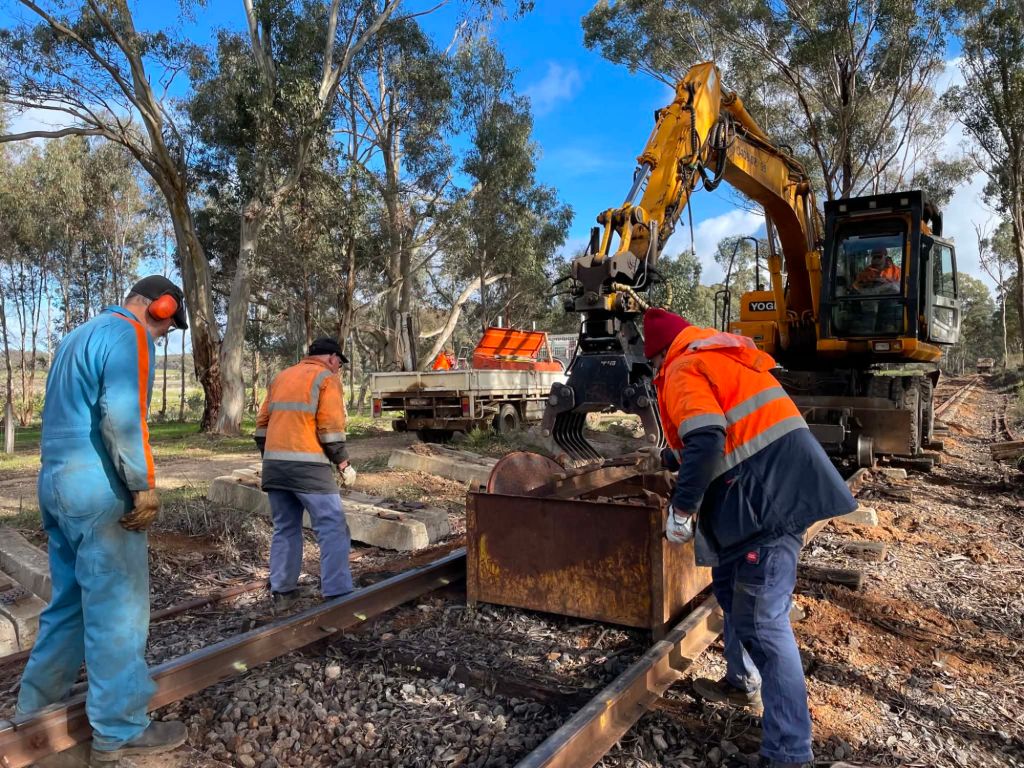
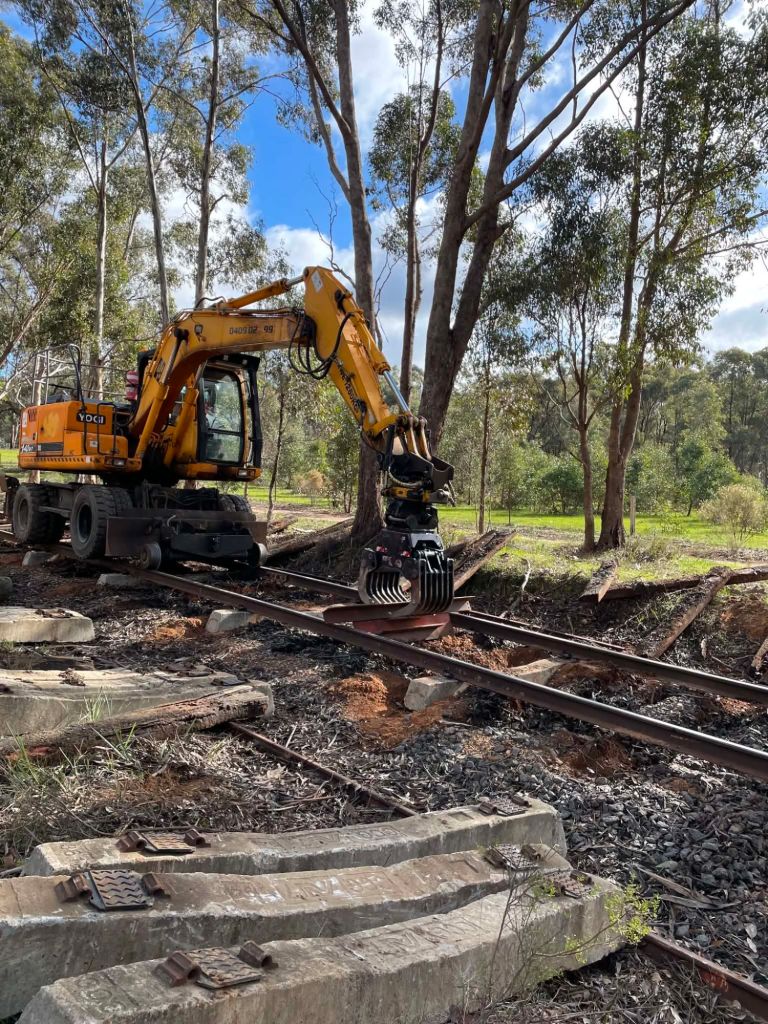
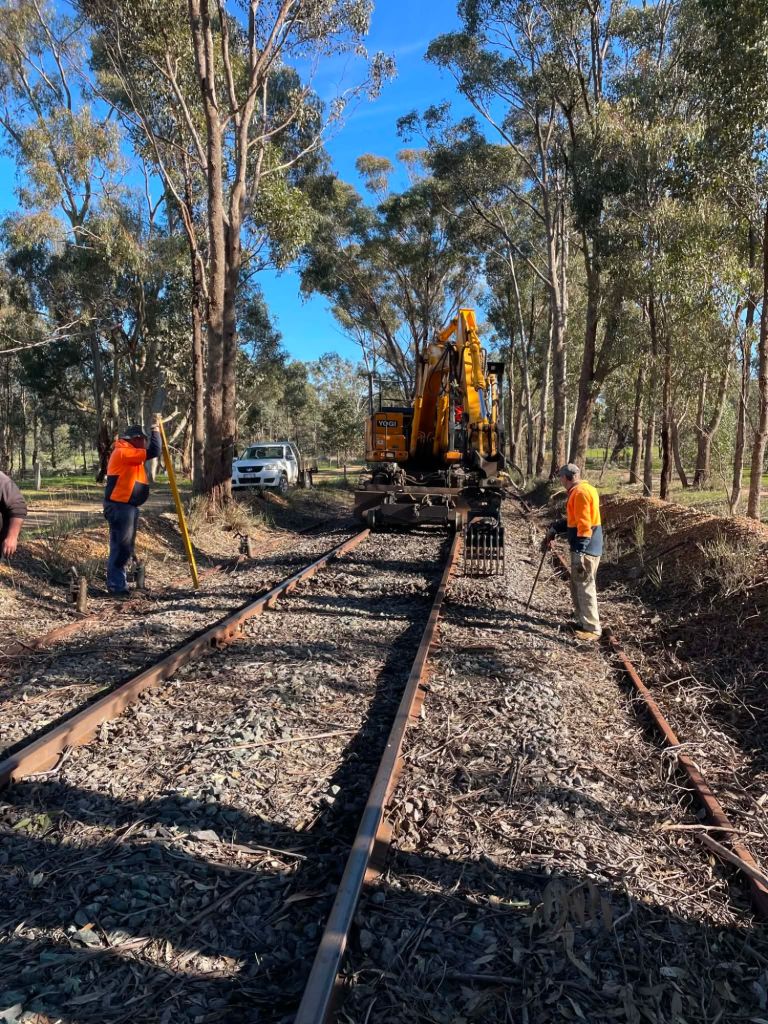
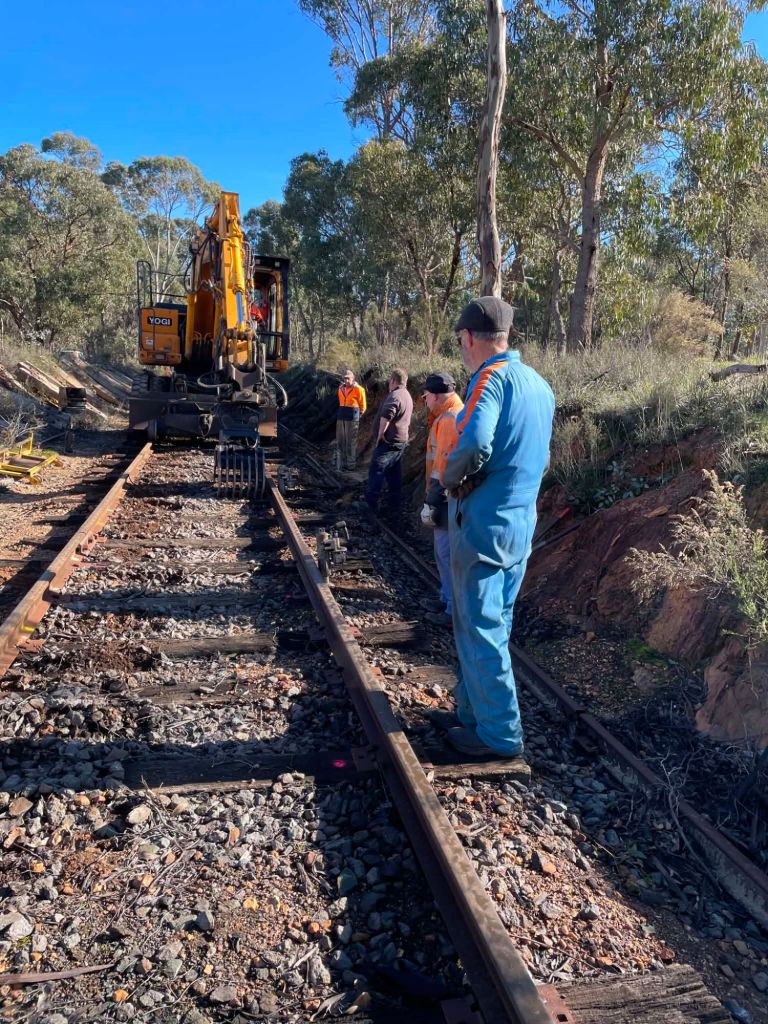
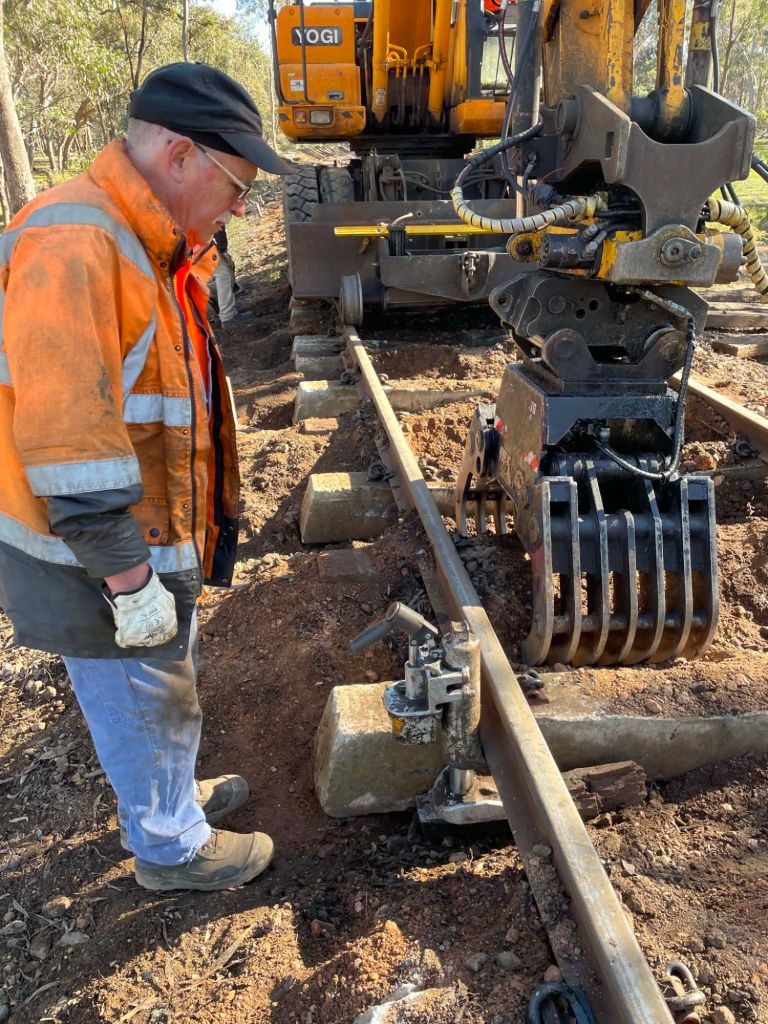
All pretty standard stuff and we’re getting reasonably quick with the big digger now, certainly not as efficient but we’re comfortably achieving 160 a week without any great panics.
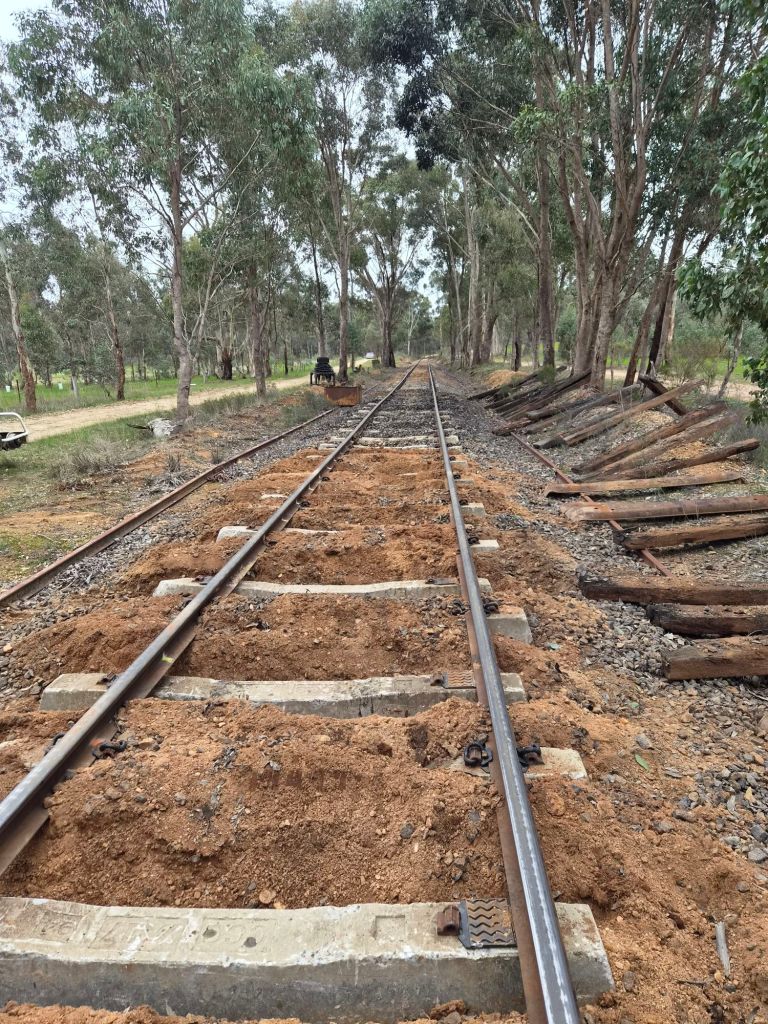
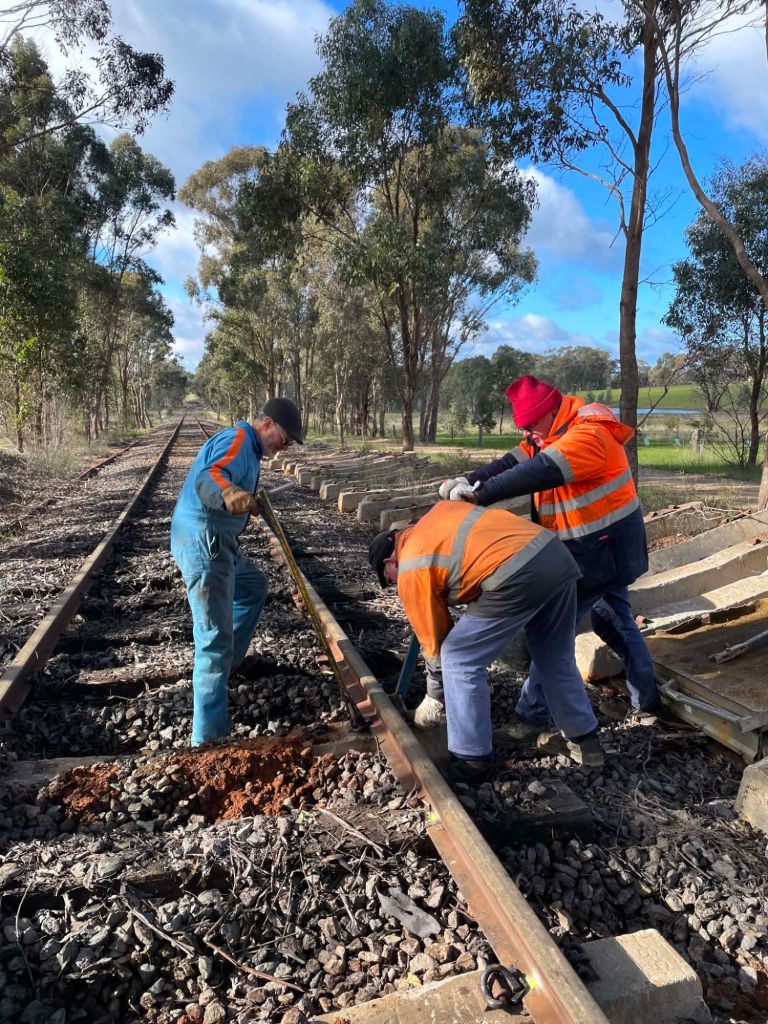
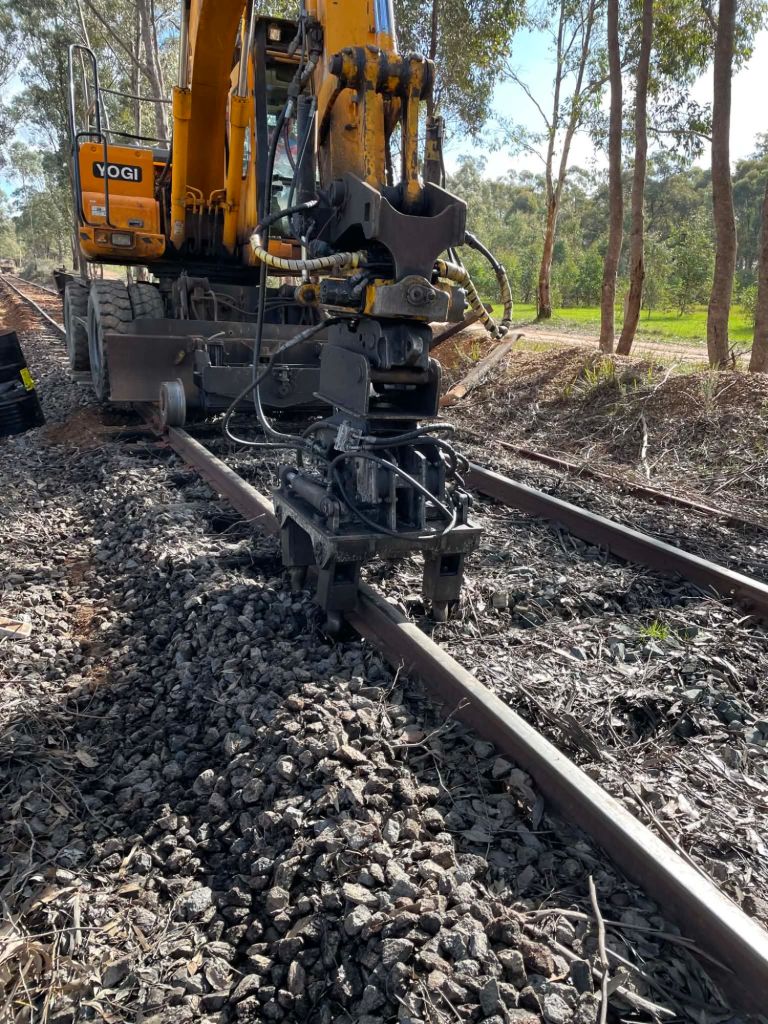
The only difference is the use of the tamping head to complete the job, the grab control while adequate for the clipping up, just isn’t quite firm enough, this takes a little extra time but it’s not onerous.
We’re now about half way to the bridge, and it feels like we’re making good progress now.
Next week will be more of the same, we’ve got 4 clear days next week, so we may even achieve a few more than 160 sleepers, however Monday will require a few sleepers being dropped out. Meeting at Maldon 8am or out on site from 8.30am
Thursday last week did see some success using the big digger for sleepers, we managed 100 across our two workdays, which was about 60 less than we’d normally achieve, however it got us out of the curve and into the straight, with the bridge in sight.
It was a frosty start, but glorious sunny day.
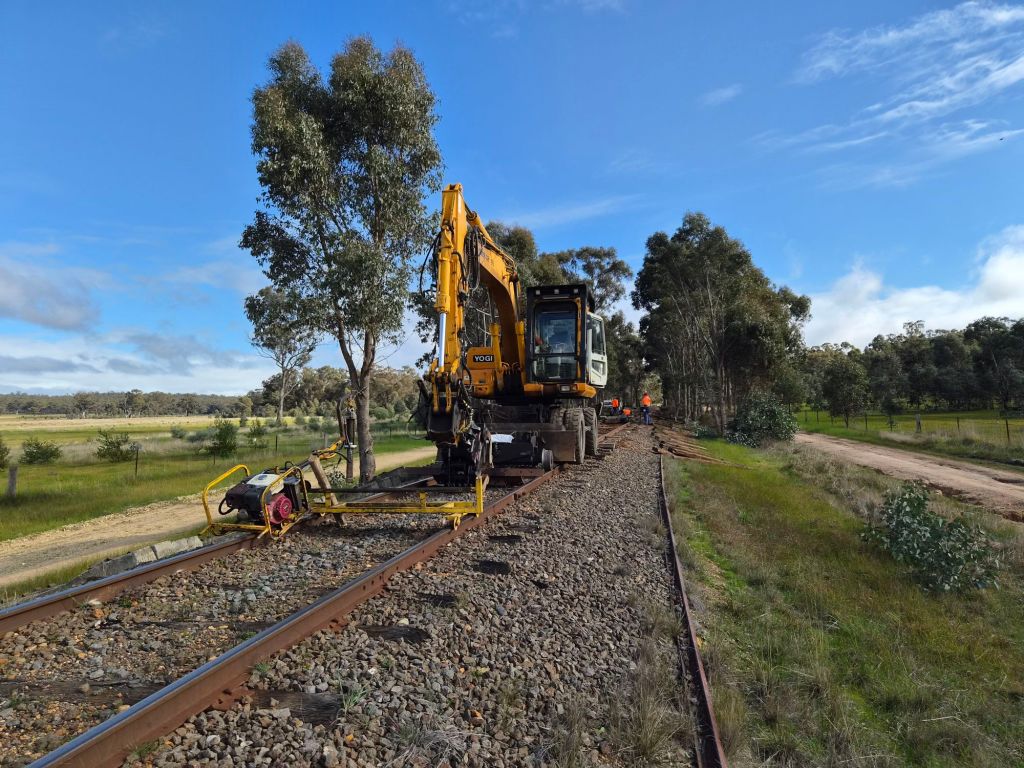
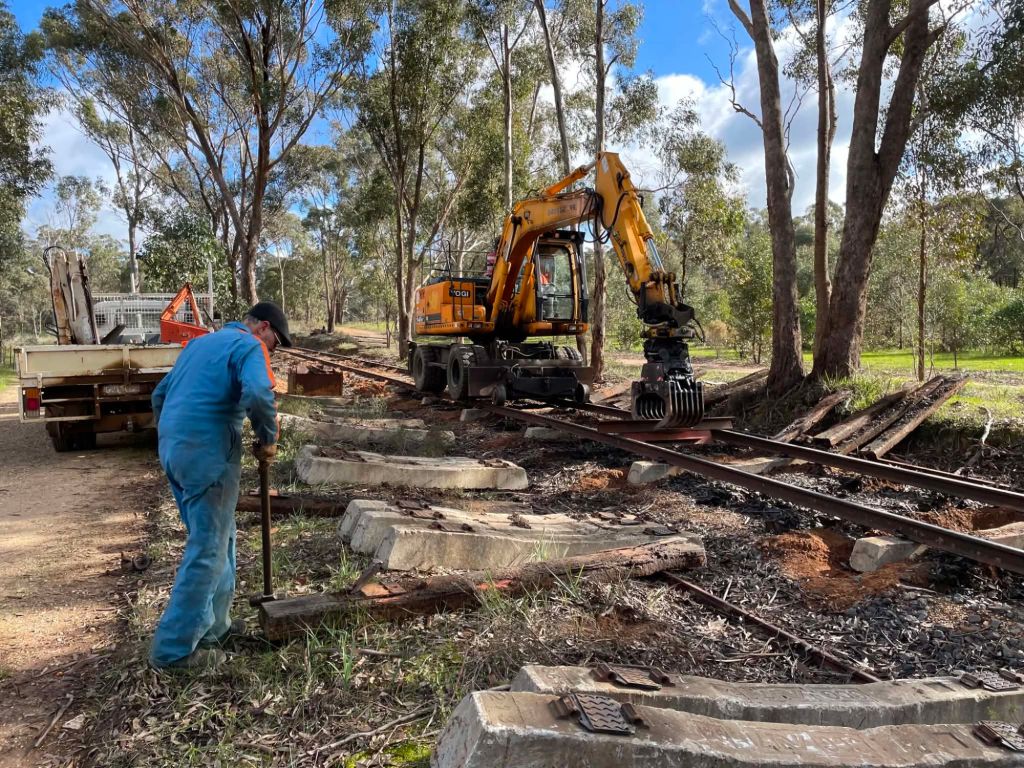
It was much the same as always, however our sleeper trench apparatus was dusted off, as its much quicker and controllable than just using the grabs.
Plenty of time was spent jacking and squeezing, however this digger doesn’t squeeze anywhere near as firmly so we’ll need to come back with the tamping head to finish this off.
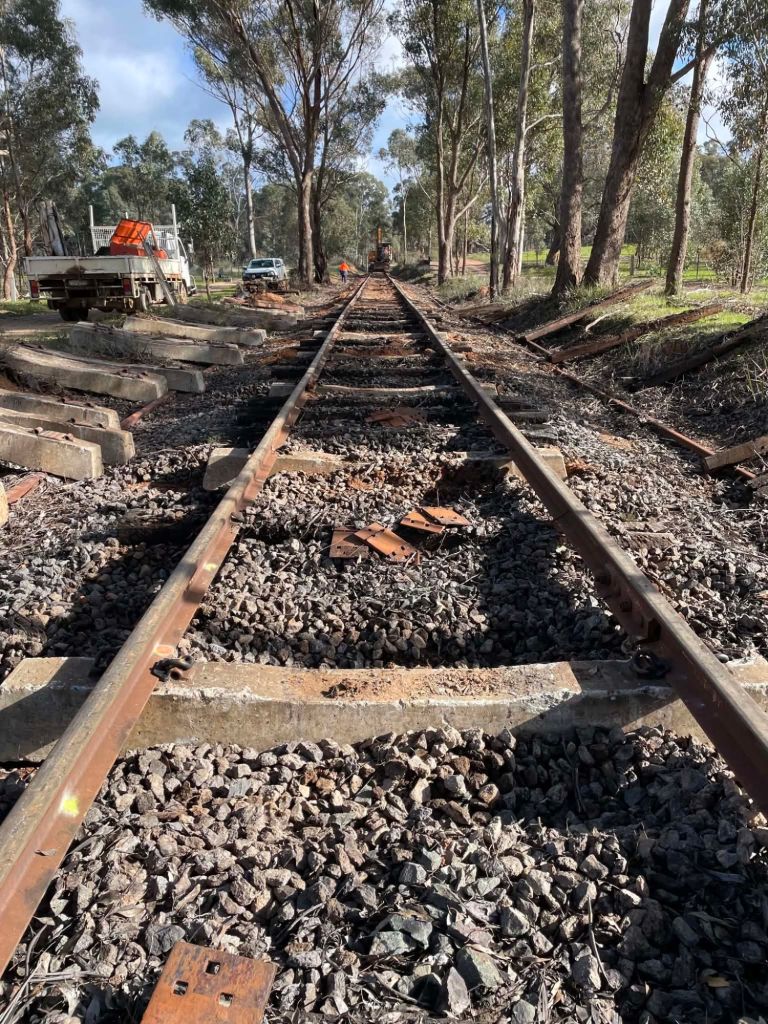
After a good tidy up, it came up looking quite snazzy.
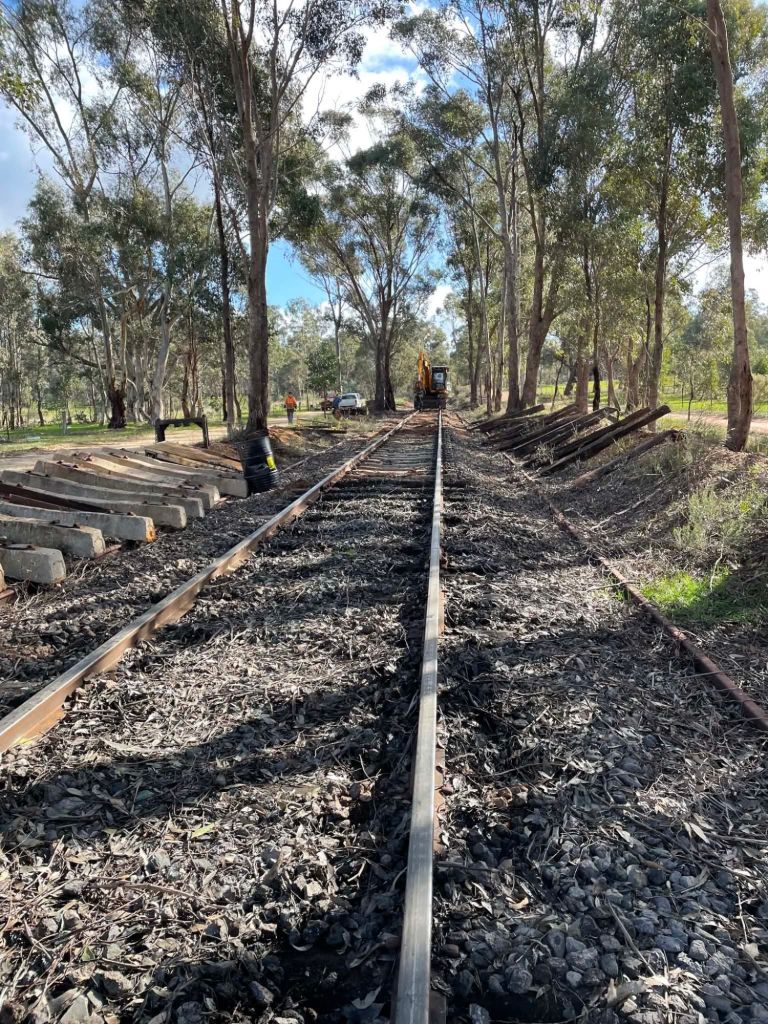
Before we can do much more we need to move concrete sleepers down as we’re almost out of dropped out sleepers. This week will see this sort of work with no sleepers installed, given the weather is not looking great either workdays might end up a bit quieter than usual.
Monday we’ll be at Maldon all day, however from morning tea of Tuesday we’ll hopefully be back out on site moving sleepers.
It all started a few weeks ago with a bridge strike at Langslow St (Winters Flat), involving a single car at high speed. This resulted in us having to cancel one day’s train running while we effected repairs to the bridge, thankfully due to wet ground the damage was minimal, with the main immediate issue being the movement of 2 piles, however a large tow truck and some digger persuasion saw that remedied, we need to do a little more at some stage but it’s okay for now.
Around the same time, our gang truck clutch decided it was time to call it a day, thankfully not major but it has taken a little while to find a local company happy to tackle it, as it’s not super straight forward being a non-tilting cab. However thats underway now (and as you’ll see below we have other things to worry about!).
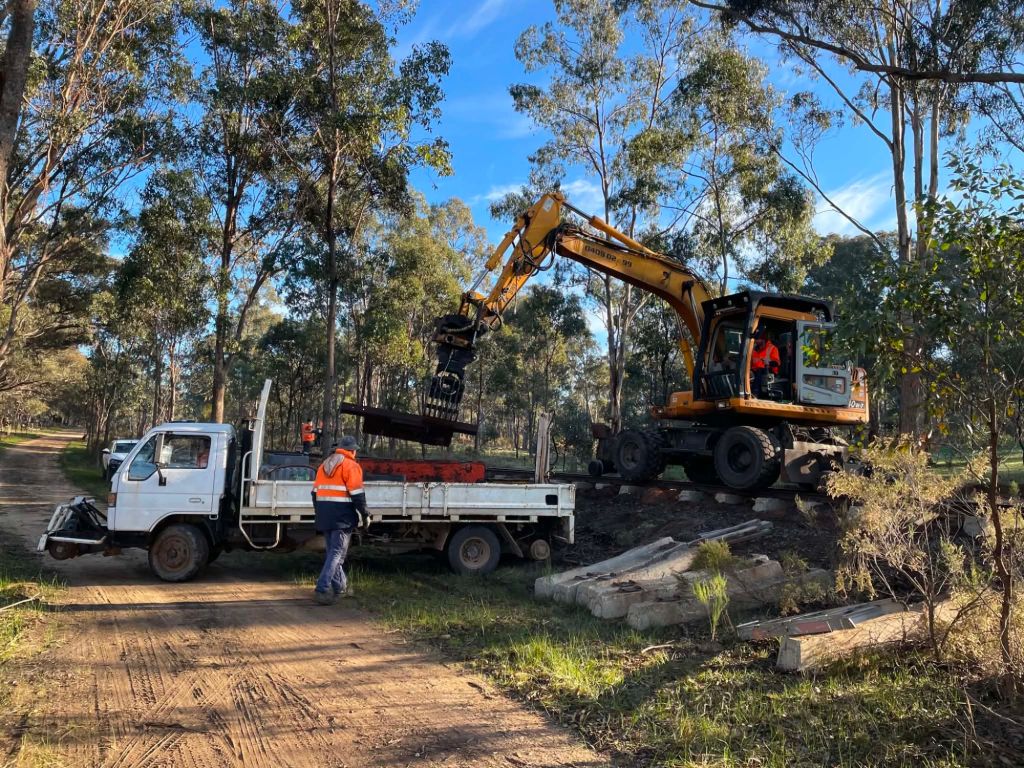
The little digger may have now seen the last of its service with us, an internal oil seal blew on the auxiliary (brake release/low flow circuit) hydraulic pump while in use and unfortunately the sump oil passed into the hydraulic circuit. By the time any issue was noticed, engine damage had been done. We’re still pricing up options, but given its overall health (and extremely high hours) it’s really due a full strip down and rebuild (the engine has exceeded the manufacturer’s reccomended lifespan fairly significantly) which is very unlikely to make any real financial sense long term.
And to top it all off, the big digger developed a fault only a day later – mid resleepering – requiring quite a few days to get it back up and running – thankfully not an expensive issue, however thanks to the weather and delays in getting parts we’re now a long way behind where we’d hoped to be with sleeper replacements.
We had to dig out the hand tools after that, to manually ballast and pack a suitable ramp to keep trains running, which while adequate, did start to settle noticeably after a couple of weekends worth of trains passed over it.
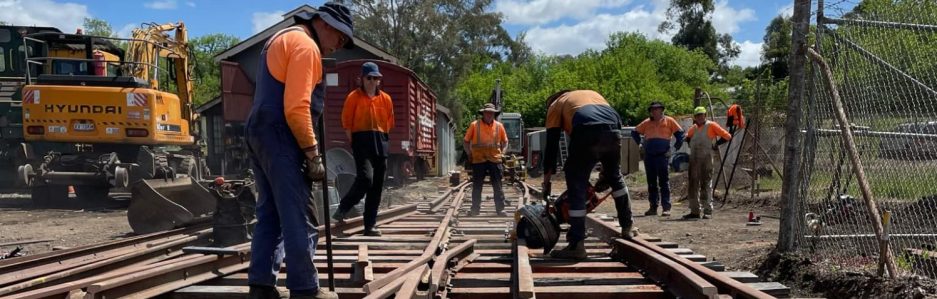
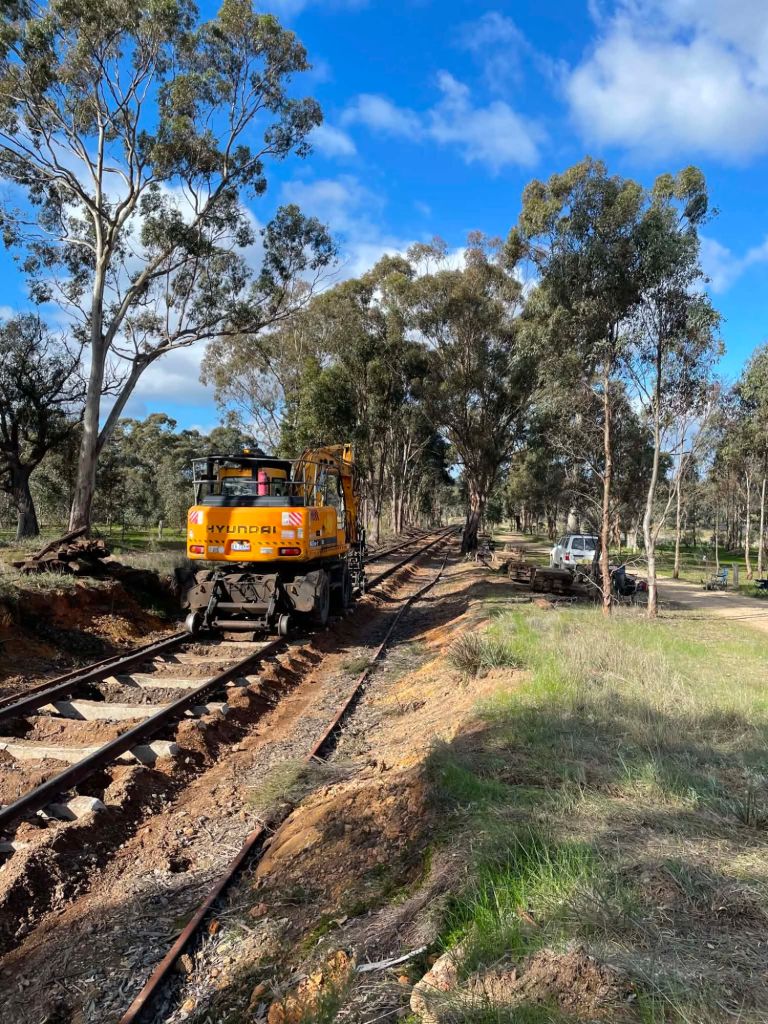
Yesterday, finally saw us get back out into the field, where 55 sleepers were inserted. Unfortunately the big digger, although greatly more capable of handling heavy sleepers and lifting things, has much less fine control than the little one, as such everything happens much more sedately, as an over-exuberante touch of the controls can result in extra work lining and packing or damaging the sleepers.
It is doing the job in a fashion and we’ll try our hardest to get to the bridge, however if it proves too inadequate we may just need to hire a suitable machine to finish the job, but time will tell. The real issue is going to be if we can get a suitable top to the track using this machine,
Needless to say we’ve been preoccupied this past little while trying to determine the real state of things and to develop a few strategies forward, we’re certainly not out of the woods yet but if we can get to the bridge, we’ll have some breathing room to sort things out. By that point we should be down to our last 7000 timber sleepers to replace, which sounds like nothing if you say it fast – however these are all in locations that won’t fail catastrophically (already at least 1 in 3 concrete).
Anyhow, on a positive note the weather has been spectacular this week, frosty mornings with glorious days. Tomorrow is looking similar and we’ll be meeting at Maldon 8am or out on site putting in sleepers from 8.30am – come and watch us make do with the big digger and our makeshift gang truck!